
Photography
Common Mistakes in Twilight Photography: 10 Fixes for Sharper, Cleaner Images
September 22, 2026
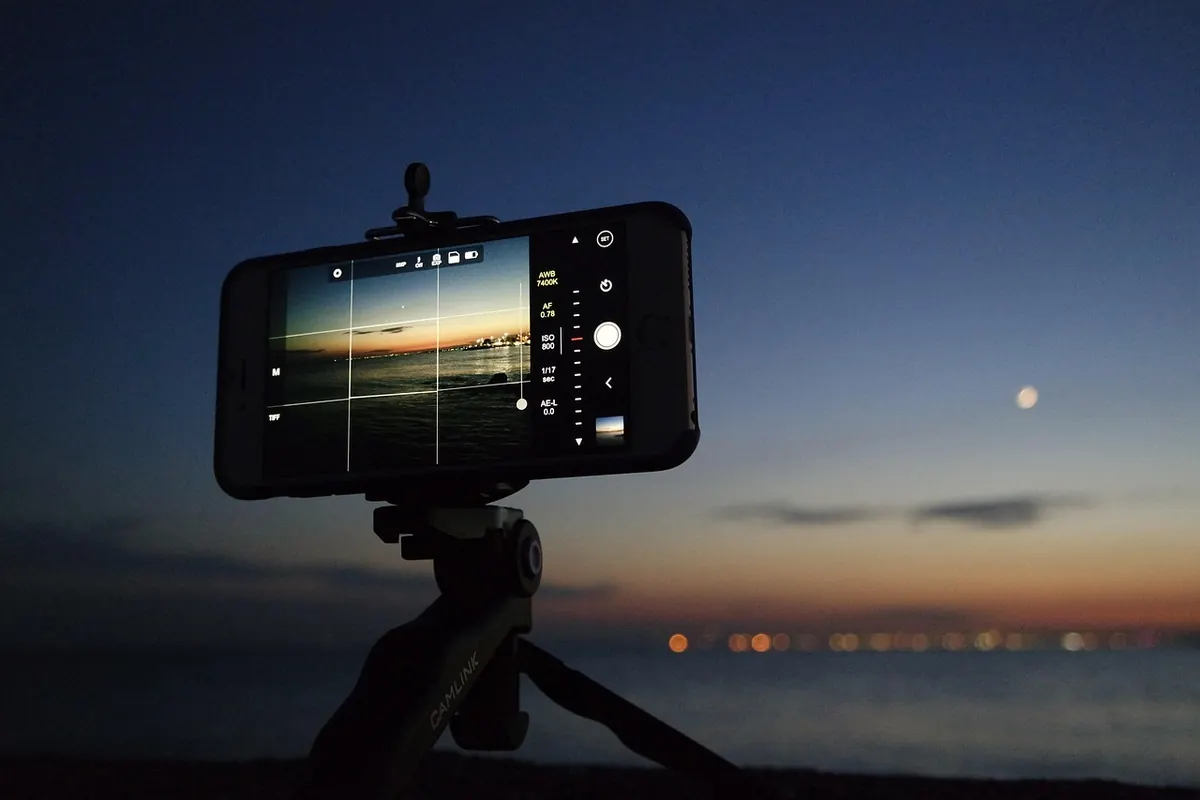
Twilight hands you colour you cannot get at any other hour, then takes the light away faster than most people expect. Fifteen minutes can separate a crisp frame from a smeared one, and the errors that spoil a shot tend to be the same handful again and again: a camera held a stop or two past its limit, focus that settled on the wrong thing, shadows pushed so far in editing that they turned to gravel. The fixes are mostly habits rather than gear. Work through the ten below and you will come home with cleaner files, sharper edges and colour that resembles the evening you actually stood in.
Mistake 1: Arriving After the Light Has Turned
Twilight is short, and the best of it usually falls in the twenty to forty minutes after sunset — the window when the sky still holds colour and the street lights have come on. Turning up as it starts means you spend the good light finding your position instead of using it.
Scout in daylight if you can, or at least check the sunset time and plan two or three compositions in advance. Arrive early, walk the spot, decide where you will stand and what lens you will use. Pre-set the camera before the light goes: aperture priority or manual, f/8, ISO 400, raw. Charge a spare battery, because long exposures in cold air drain them quickly, and keep a small torch in your pocket for dials and tripod plates.
Mistake 2: Handholding as the Shutter Speed Falls
Autumn evenings push shutter speeds into territory where hands simply are not steady enough. A useful rule of thumb is to keep the shutter speed at or above one over the focal length — roughly 1/50sec at 50mm — and twilight will often put you at 1/15sec or slower.
What actually works:
- Use a tripod properly. Keep the centre column down, avoid hanging a bag from a hook in gusty conditions, and press the feet into soft ground.
- Trigger without touching the camera. A two-second self-timer costs nothing and removes the jab of your finger.
- Brace when you must handhold. Lean against a wall or railing, tuck your elbows in, breathe out slowly and squeeze rather than stab the shutter.
- Take three frames. One of a short burst is usually noticeably sharper than the others.
- Raise the ISO before you break the rule. Slight grain beats a blurred frame every time.
Mistake 3: Letting Autofocus Hunt in Flat Light
When contrast drops, autofocus starts breathing in and out, and it will happily lock onto the brightest edge in the frame rather than the subject you wanted. Sky, water and smooth walls give it nothing to grip.
Switch to a single AF point and place it on a genuine edge: a lit window, a roof line, the rim of a lamp, a branch against the sky. If it still struggles, go manual and use live view magnification to focus precisely, or turn on focus peaking if your camera has it. For wide landscapes, focus at infinity and stop down to f/8; for city scenes, focus on the mid-distance and check the result at 100 per cent before moving on.
Mistake 4: Metering Off a Sky That Is Still Bright
The sky after sunset is far brighter than the ground, and a camera left to its own devices will try to protect it. The result is a correctly exposed sky above a foreground plunged into black — fine if you wanted silhouettes, disappointing if you did not.
Take control. Meter for the midtones with spot or centre-weighted metering, or work in manual and check the histogram after each frame. A touch of positive exposure compensation — often around +1 stop — lifts the foreground while keeping the sky workable. If the contrast is genuinely too wide, bracket three frames and blend them later.
Mistakes 5 and 6: Underexposing Out of Caution, Then Lifting Shadows Too Far
Shooting underexposed at ISO 100 and brightening later feels safe and rarely is. Lifting shadows two stops in editing produces the same noise as a much higher ISO, plus flatter colour. Better to expose properly at the time: ISO 800 to 3200 is normal in twilight, and modern sensors handle it well.
If the camera is on a tripod, use a long exposure at a low ISO instead — that is the cleanest route to a quiet file. In editing, lift shadows in moderation, use local adjustments rather than one global slider, and accept that twilight is meant to look dark. Crushing every shadow to grey is the fastest way to make a real evening look like a default preset.
Mistake 7: Leaving White Balance on Auto
Auto white balance chases colour, and it will shift between frames as the light changes, so a sequence ends up jumping from blue to neutral to something faintly orange. Twilight really is blue, and sodium or LED street lighting really does add orange and green casts on top.
Shoot raw and set a fixed white balance. Daylight around 5500K gives a natural, cool rendering; Cloudy warms things up if the blue is too strong. A custom reading from a grey card is more accurate still. Then apply the same setting across the whole set in editing so the series holds together. Resist the urge to neutralise everything — a degree of cool cast is what makes blue hour images feel like blue hour. Where mixed light fights itself, choose one source to anchor the colour and adjust the rest locally.
Mistakes 8, 9 and 10: Aperture, Dirty Glass and Over-Sharpening
Shooting wide open for "more light"
An f/1.4 lens does not solve twilight. Wide open, depth of field is razor thin and corners go soft, so the parts of the frame you cared about are the parts that blur. Most lenses are sharpest between f/5.6 and f/8. Use the tripod, stop down, and go beyond f/16 only when you genuinely need the depth — diffraction will soften everything past that point.
Neglecting the front element
A fingerprint, a smear of rain or a dusty sensor flares badly against a bright sky. Wipe the front element before you start, remove inexpensive UV filters for night work since they add ghosting, and use a lens hood to keep stray light off the glass. Sensor dust shows clearly as dark spots against a twilight sky — a quick test frame at f/16 pointed at the sky will tell you whether a clean is due.
Over-sharpening and heavy noise reduction
Aggressive sharpening draws bright haloes along roof lines and tree branches, and strong noise reduction turns foliage and brickwork into plastic. Keep sharpening modest and use masking so it applies to edges only, then apply noise reduction where the noise actually is — usually the shadows — rather than across the whole frame. Judge both at 100 per cent, not on a phone screen.
A Twilight Workflow That Prevents Most of These
None of this requires expensive equipment. It requires a routine you repeat until it becomes automatic.
- Arrive early, choose your spot and pre-set the camera.
- Tripod down, self-timer on, filter off, glass clean.
- Focus manually or on a strong edge, then check at 100 per cent.
- Expose for the foreground, not the sky, and watch the histogram.
- Set a fixed white balance and stick with it for the set.
- Stop down to f/5.6–f/8 and raise the ISO rather than handhold too slow.
Then edit gently, and go back out the following evening. Twilight rewards repetition more than it rewards new gear, and the differences between one attempt and the next show up remarkably quickly.
Photo: Pexels / Pixabay
Related posts
More stories you’ll love reading