
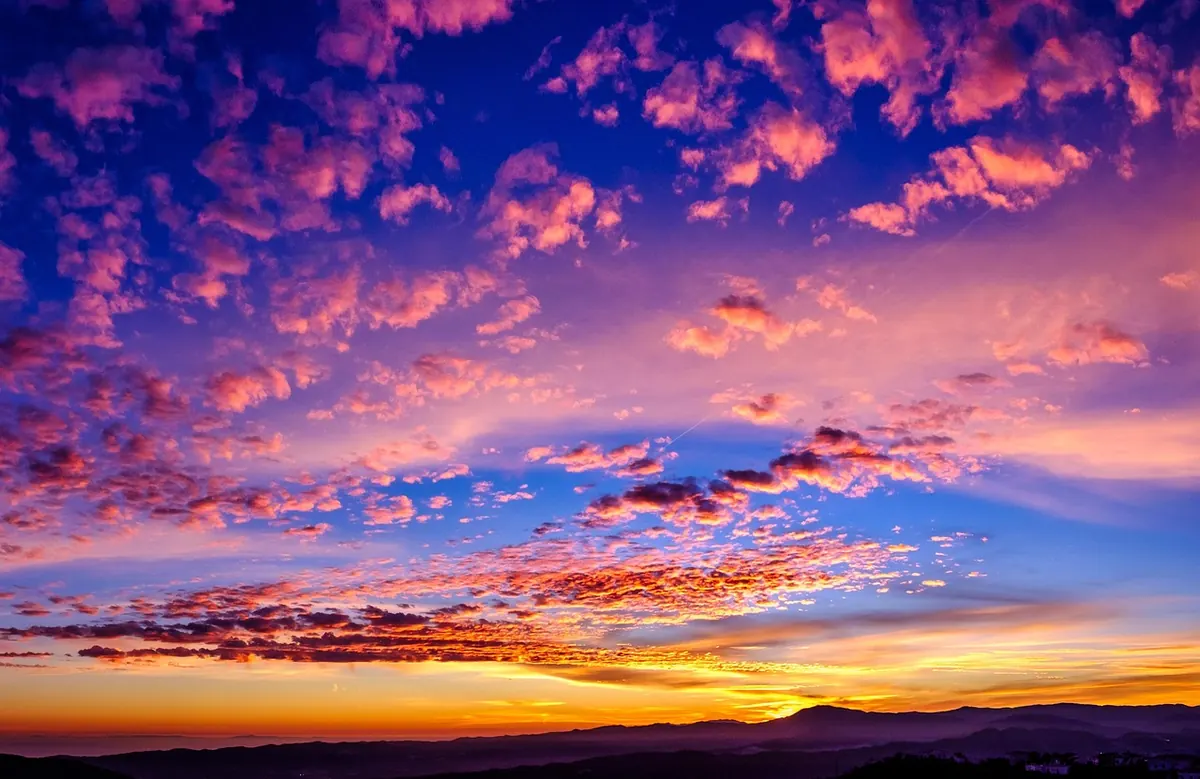
Blue hour is the reward for staying out after the sun has gone. In the UK it arrives quietly: cobalt draining into the sky behind a headland, wet sand turning the colour of slate, the first street lamps flickering on across a valley. It rarely lasts long, and it will not wait while you scroll through menus. Get the settings roughly right before it begins, and you will spend the light making pictures instead of faffing.
What the Blue Hour Actually Gives You
The term covers the stretch just after sunset and just before sunrise, when the sun sits between the horizon and about six degrees below it. The blue is at its best towards the end of that window, once the oranges have left the sky and what remains is a deep, even wash of colour that sits comfortably inside the range of a modern sensor.
How long you get depends on where you are and what month it is. On a Cornish beach in late June you might have forty minutes. On Shetland near midsummer the sky barely darkens, and you can shoot twilight colour for hours. In December, a clear blue hour in the Peak District can be finished in fifteen minutes, and a solid bank of cloud will remove it altogether. Watch the forecast for gaps rather than a perfectly clear day: a break in the cloud just after sunset often produces the best light of the whole trip.
Two things are worth holding in mind. The light is dim, but not dark — you are still balancing a fairly bright sky against much darker land. And the colour is subtle. Underexpose and you get noise and murk; overexpose and the blues wash out to grey.
Exposure: Start Simple, Then Trust the Histogram
Work in manual mode, on a tripod, with image stabilisation switched off. A sensible baseline for a coastal or moorland scene looks like this:
- ISO: 100–200 for clean files, pushed to 400 if the wind is moving and you need a shorter shutter speed.
- Aperture: f/8–f/11. Enough depth for foreground rocks, minimal diffraction.
- Shutter: anywhere from 2 to 30 seconds. Longer if you want smoothed water or streaked cloud.
- Format: RAW, always. The files hold far more room for correction later.
From there, meter for the sky and check the histogram after every frame. On most cameras the blue channel sits furthest left, so a scene that looks fine on the rear screen can be quietly underexposed. Push the exposure until the brightest part of the sky is just short of clipping, then look at the shadows: if the foreground is jammed against the left wall, add a stop of exposure compensation and try again.
When a town skyline or a lighthouse sits in the frame, the contrast between lamps and land is often too wide for one frame. Bracket three shots two stops apart and blend them later, or accept a deliberate silhouette and expose for the sky alone.
Long exposures and moving water
Blue hour is generous with time, which makes it ideal for long exposures. Fifteen to thirty seconds will smooth a restless sea into something glassy; a minute or more will drag clouds into soft bands, though you may need a mild neutral density filter to reach those times at f/11. Check the tripod foot is not sinking into wet sand, and shield the front element from sea spray and drizzle.
White Balance: The Setting That Decides the Mood
Auto white balance is the quiet enemy of blue hour. It assumes the light is wrong and tries to correct the blue out of the scene, leaving you with a flat, chalky image that needs rescuing in editing.
Set it manually instead. Daylight, around 5500K, is a neutral base that keeps the blues intact. If you want them stronger, drop to roughly 3500–4500K and the whole frame cools down. If you are shooting a village with warm windows and want those lamps to feel inviting, push towards 6500–8000K, which warms everything and tips the sky towards violet. Avoid the tungsten preset unless you want an extreme result; at around 3200K it renders twilight almost unnaturally blue.
Shooting RAW means none of this is final. Still, getting it close in camera saves time and helps you judge the composition honestly while you are standing there. Check the tint slider too — overcast twilight in the UK sometimes drifts slightly green, particularly near the coast.
Focusing When There Is Nothing to Lock On To
Contrast-detect autofocus needs contrast, and twilight offers very little. Expect hunting. Several approaches work well:
- Switch to live view, magnify to 10x and focus manually on the sharpest edge you can find — a horizon line, a distant lighthouse, a lit window.
- Autofocus on the furthest reliable light source, then flick the lens to manual and leave the ring alone.
- On a wide lens at f/11, focusing around two metres away usually holds sharpness from roughly a metre out to infinity.
- Shine a torch on your foreground, focus on it, then switch the torch off before you shoot.
- Use focus peaking if your camera has it. Twilight is what it was designed for.
- Tape the focus ring once it is set, particularly on a breezy cliff top.
After the first frame, review at 100% and check the foreground rather than the sky. A soft rock in the corner ruins a picture far more often than slightly soft clouds.
Composition When the Light Is Thin
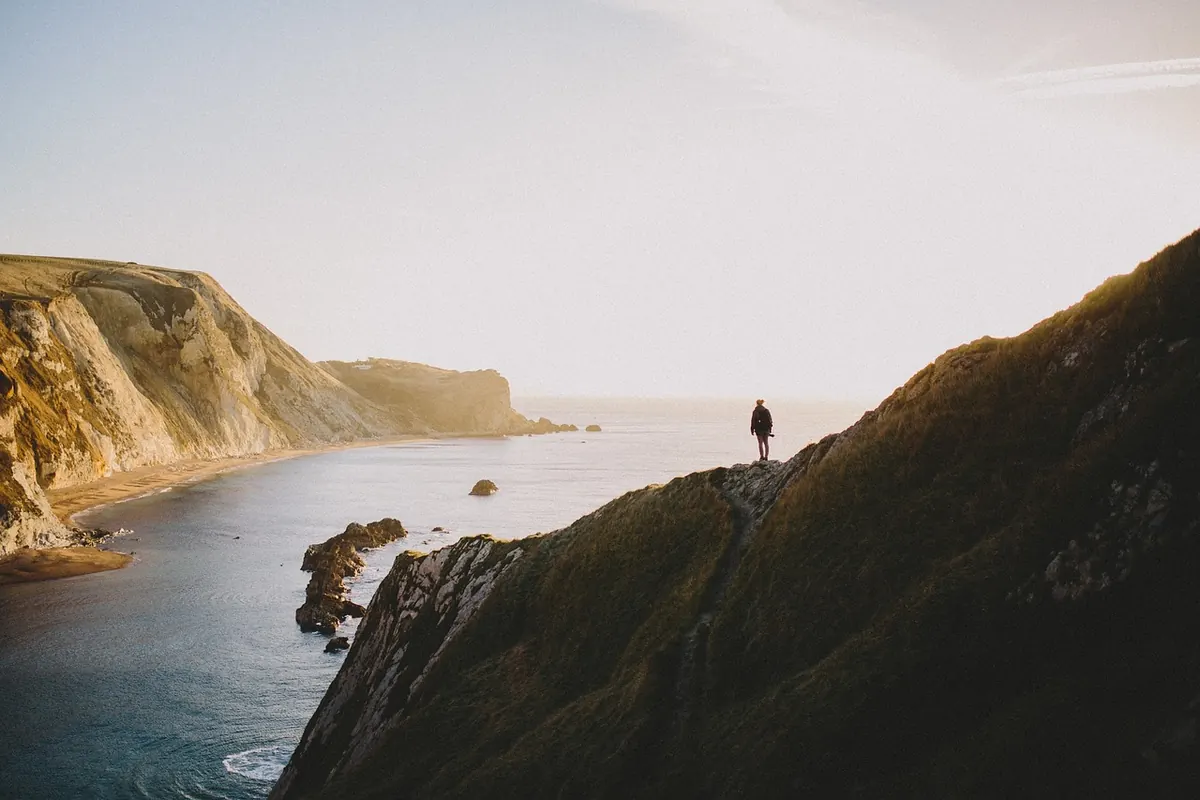
Without direct sunlight you are composing with shape, tone and the colour gradient. Silhouettes do most of the work. Look for a pier, a lone tree, a church tower, a row of beach huts against that deep blue, and give them space rather than crowding them.
Water is the easiest ally: wet sand, puddles and a still loch all double the sky. Leading lines work beautifully — jetties, dry stone walls, fence posts, a road curving towards the hills. A single point of light, such as a lamp or a cottage window, gives the eye somewhere to settle.
Keep the horizon off the middle unless the reflection genuinely earns the symmetry. Watch the edges of the frame; stray branches, litter bins and car parks all disappear in the gloom and then reappear in the edit. And if the sky is the subject, let it be the subject: underexpose the land and leave plenty of empty blue.
A Practical Blue Hour Workflow
- Arrive at least half an hour before sunset and set up while there is still light to see by.
- Compose and focus, then lock the focus in manual.
- Apply your baseline settings: ISO 100, f/11, and a shutter speed that gets you close.
- Take one frame and read the histogram, not the screen.
- Adjust exposure compensation, then bracket if the contrast is extreme.
- Shoot steadily as the light changes. The colour will deepen and then fade quickly.
- Stay ten minutes longer than feels sensible — the richest blues often arrive just before true darkness.
Pack a head torch, a cloth for the lens and something warm. Blue hour in Britain is usually cold, often damp, and occasionally spectacular; a little preparation is all it takes to come home with something worth keeping.
Photo: gcman105 / Pixabay
Related posts
More stories you’ll love reading